Before Your Turn On AC This Summer, Carry Out This Essential DIY Maintenance to Get the Best Cooling
As temperatures begin to rise in March, the thought of switching on your air conditioner becomes more appealing. But before you hit that power button, have you given your AC the care it needs? Skipping maintenance can lead to weak cooling, strange noises, or even a complete breakdown. To ensure your AC runs efficiently all summer long, here’s a comprehensive guide to DIY AC maintenance.

Why AC Maintenance Matters
Regular maintenance isn’t just about keeping your home cool—it’s about saving money and extending the life of your AC. Dusty filters, clogged coils, and low refrigerant levels can force your system to work harder, driving up energy bills and shortening its lifespan. A little effort now can save you from costly repairs later.
Step-by-Step DIY AC Maintenance
1. Inspect Your AC
Start by turning off the power supply for safety. Check for visible dust, dirt buildup, or leaks. If you spot any, it’s time to roll up your sleeves.
2. Clean or Replace Air Filters
Clogged filters block airflow and reduce cooling efficiency. For split ACs, remove the filters, wash them under running water, and let them dry completely. For window ACs, clean the filters with soap and water. Pro tip: Clean filters every two weeks during peak summer for optimal performance. Refer to the user manual to know how to remove air filters.
3. Check and Clean Coils
Dusty condenser and evaporator coils make your AC work harder. Use a soft brush or vacuum cleaner to clean them. For window ACs, a coil cleaner spray or damp cloth works wonders.
4. Clear Debris Around the Outdoor Unit
Leaves and dirt can block airflow. Use a soft brush or blower to clean the fins, and ensure at least 2 feet of clear space around the unit. For stubborn debris, a garden hose can help—just avoid electrical components.
5. Inspect Refrigerant Levels
Low refrigerant levels can cause poor cooling. Look for ice buildup, warm air, or hissing sounds near the outdoor unit. If you suspect a leak, call a technician—this isn’t a DIY fix.
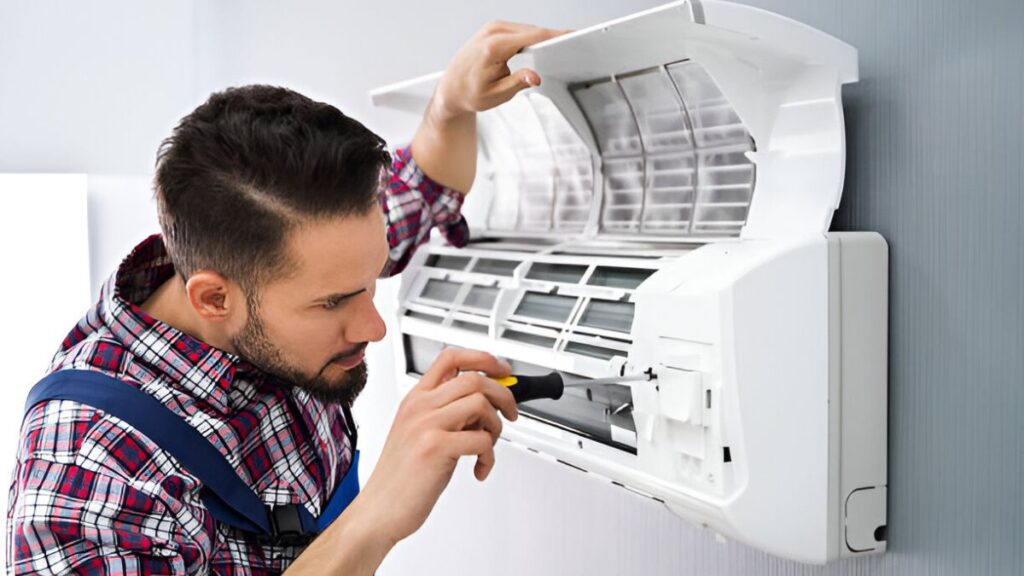
6. Tighten Electrical Connections and Check the Thermostat
Loose wires can cause power fluctuations. If you’re comfortable, check the control panel for loose connections. Also, ensure your thermostat is set to cooling mode and recalibrate it if necessary.
7. Clean the AC Drain Pipe
Clogged drain pipes can cause water leaks. For split ACs, flush the drain pipe with warm water. For window ACs, tilt the unit slightly backward and use a thin wire to unclog the drainage hole.
Testing Your AC After Maintenance
Once you’ve completed the steps, turn on your AC and listen for unusual noises. Check the airflow and ensure there’s no water leakage. If everything seems fine, your AC is summer-ready!
When to Call a Professional
If you notice weak cooling, strange noises, water leakage, or a sudden spike in power consumption despite your efforts, it’s time to call a technician. These issues often indicate deeper problems like refrigerant leaks, compressor faults, or electrical malfunctions.
FAQs
- How often should I service my AC? At least once a year, preferably before summer.
- Can I clean my AC myself? Basic cleaning is DIY-friendly, but professional servicing is needed for refrigerant checks and electrical inspections.
- Why is my AC not cooling properly? It could be due to low refrigerant, a faulty compressor, or thermostat issues.
- Why does my AC smell bad? Mold growth in filters or the drainage system is often the culprit.
By following these tips, you can ensure your AC runs efficiently, saving you money and keeping you cool all summer long.